


The first step in making the treadmill was to sketch out some ideas.
The idea is then refined and includes some technical items, like mechanisms on how to animate the treadmill.
I drew out the side-rails in Illustrator and glued them onto a piece of wood.
I then taped the wood onto another piece of wood to create two identical side-rails.
A jigsaw, mini belt sander, and a drill press are used to shape out the side-rails.
I used a chisel to separate the two taped halves.
Now we have two relatively identical side-rails!
Some grommets epoxied onto the side-rails as an added detail.
I used 3/4” PVC pipe for the rollers. I had to modify the ends to fit some washers onto them.
The washers serve as a hub to fit an appropriately sized axle.
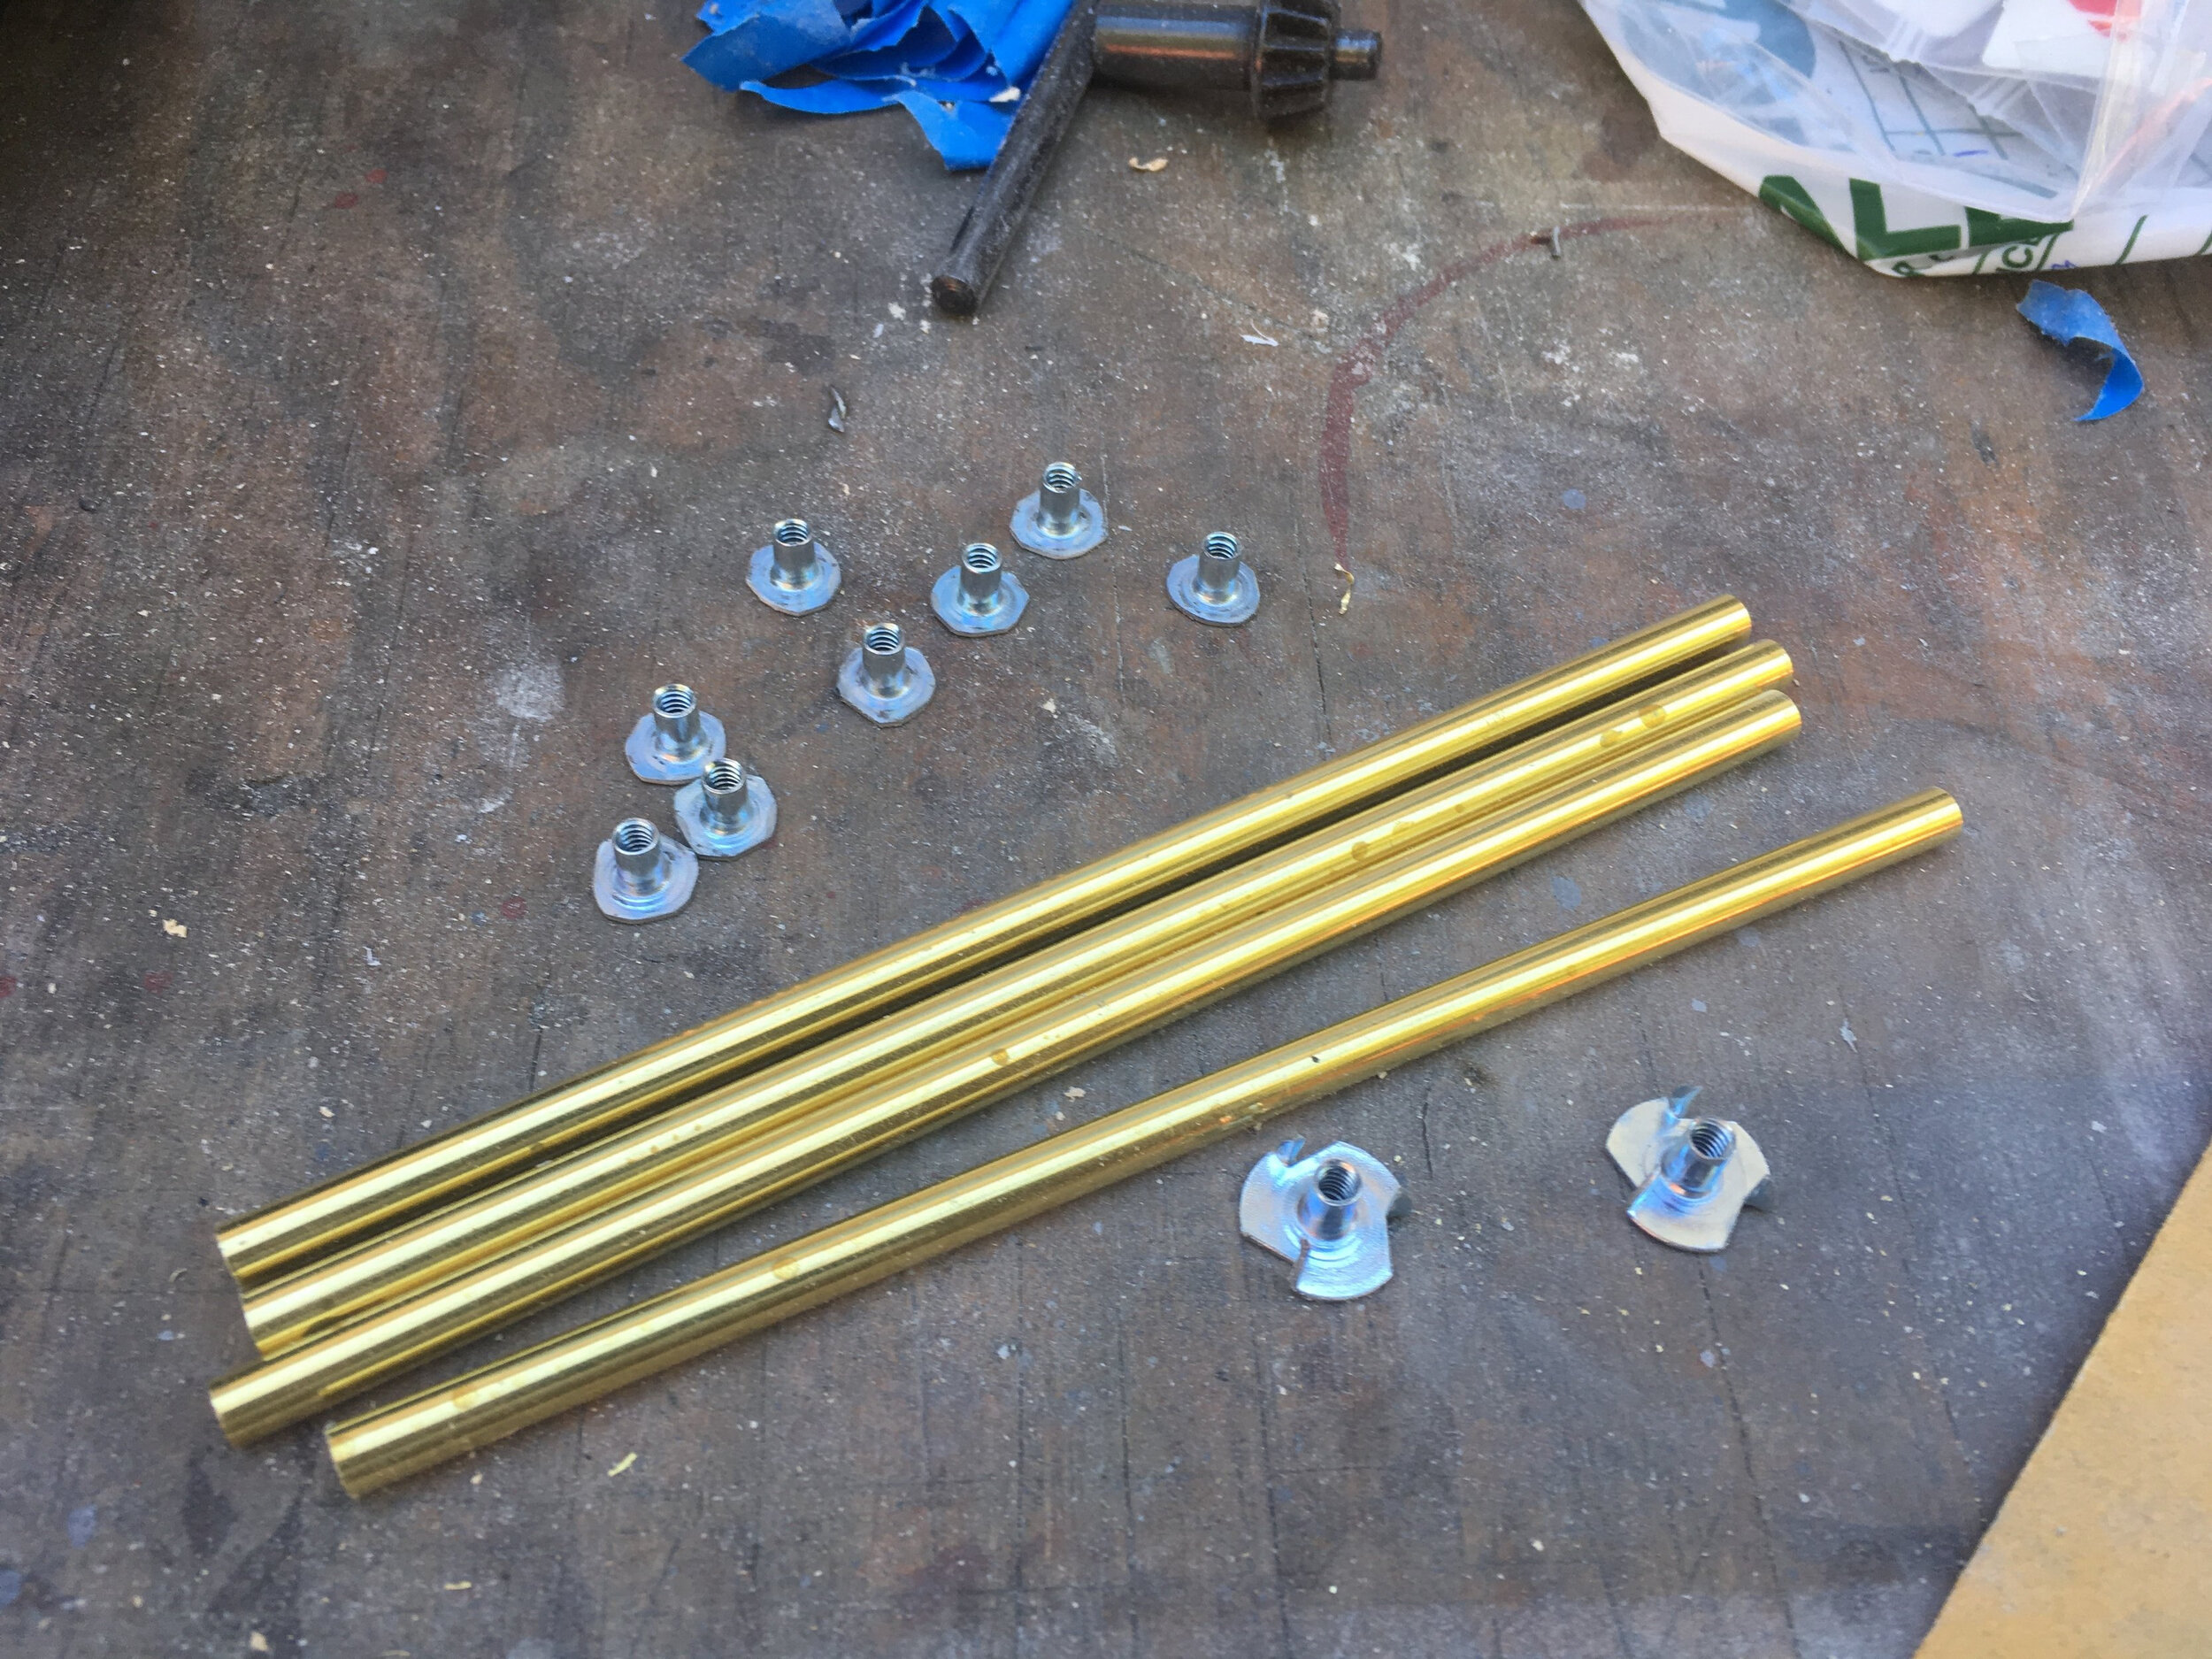
I used 3/8” brass tubes and some ground down T-nuts to make the axles.

The T-nuts are glued to the ends of the axles to give me something to thread a screw into.

This is a rough assembly of the base of the treadmill.

A small platform with a piece of foam is added to give the treadmill a “cushion” effect when the tread is added.

I used Magic-Sculpt epoxy clay along with some bits of wood and tubing to add more detail to the side-rails.

Some brass tubing is added to the ends to serve as a sleeve for the front feet of the treadmill.

The treadmill is reassembled for test fitting and also the tread is added. The tread is made of a piece of 4” vinyl fabric that has been glued together in a loop. The feet is made of a screw that had epoxy putty built up on the end of it. The feet are then inserted into the tubing that was added to the front of the rails.
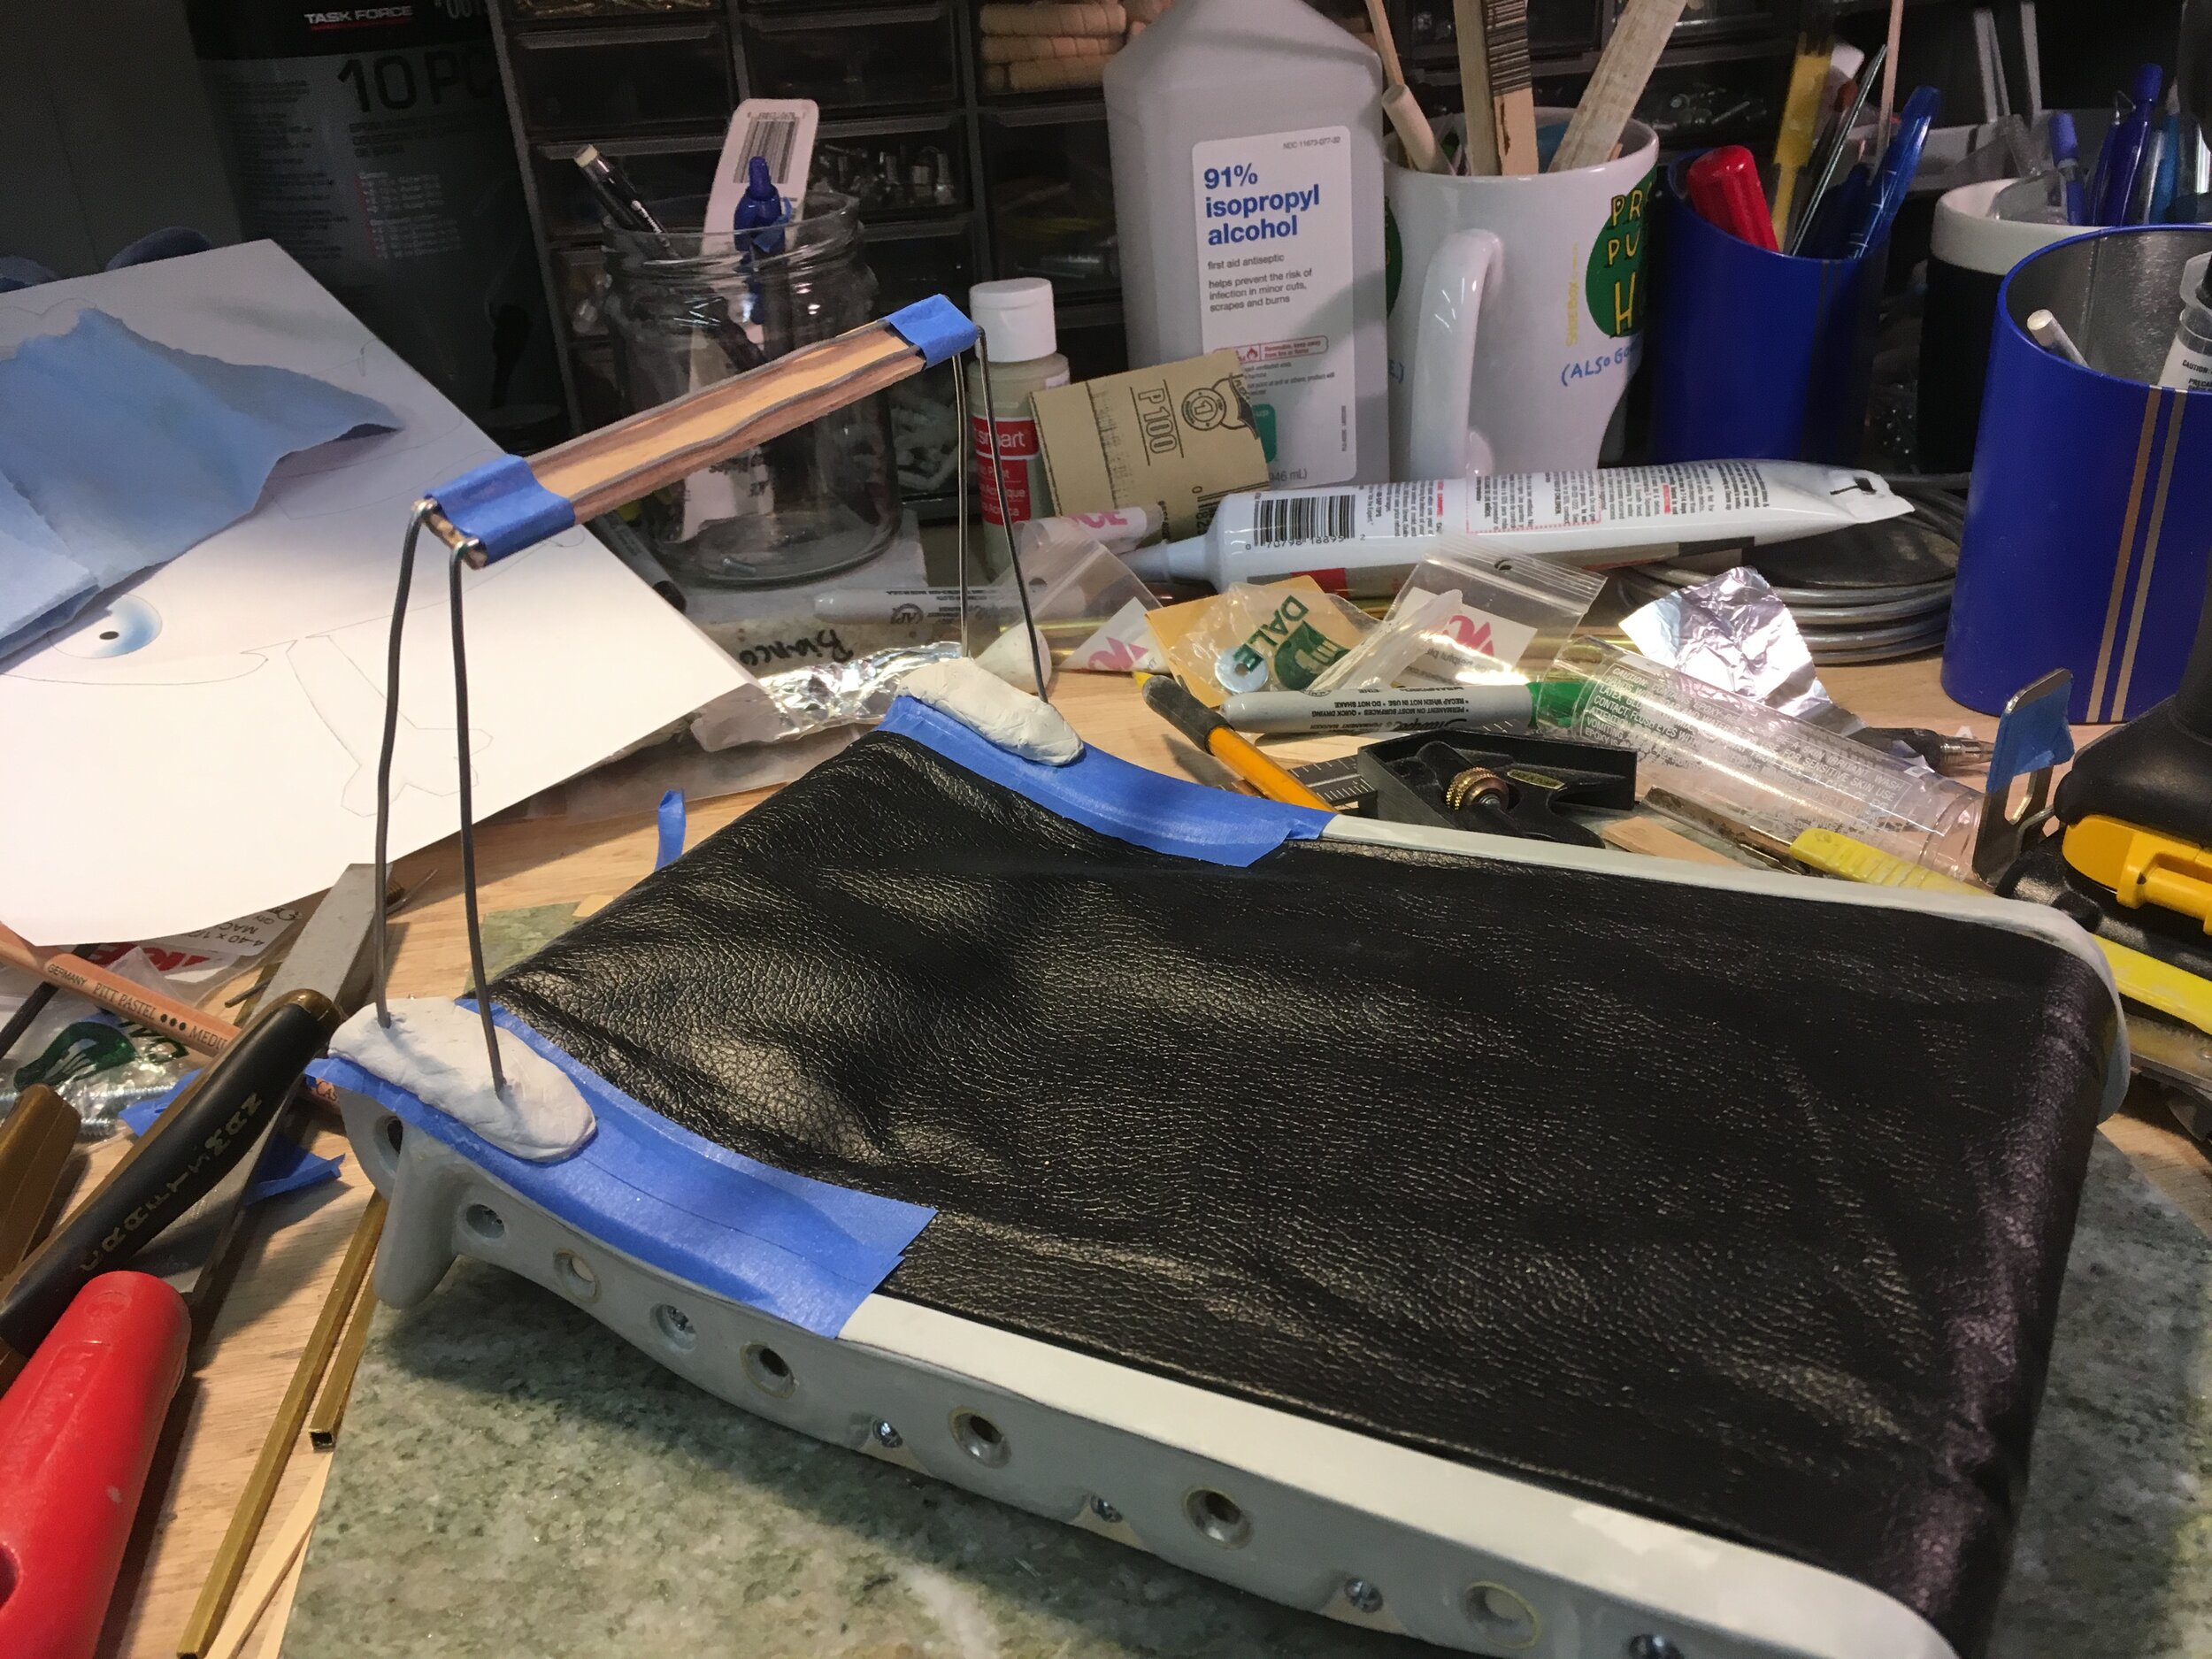
The frame of the treadmill console rail is made up of aluminum wire, epoxy putty, and wood.

More wood is added for structural rigidity.

Magic-Sculpt epoxy clay is then built up to form the console rail shape. After the epoxy has cured, it is then sanded, painted, and a control panel added. Done!